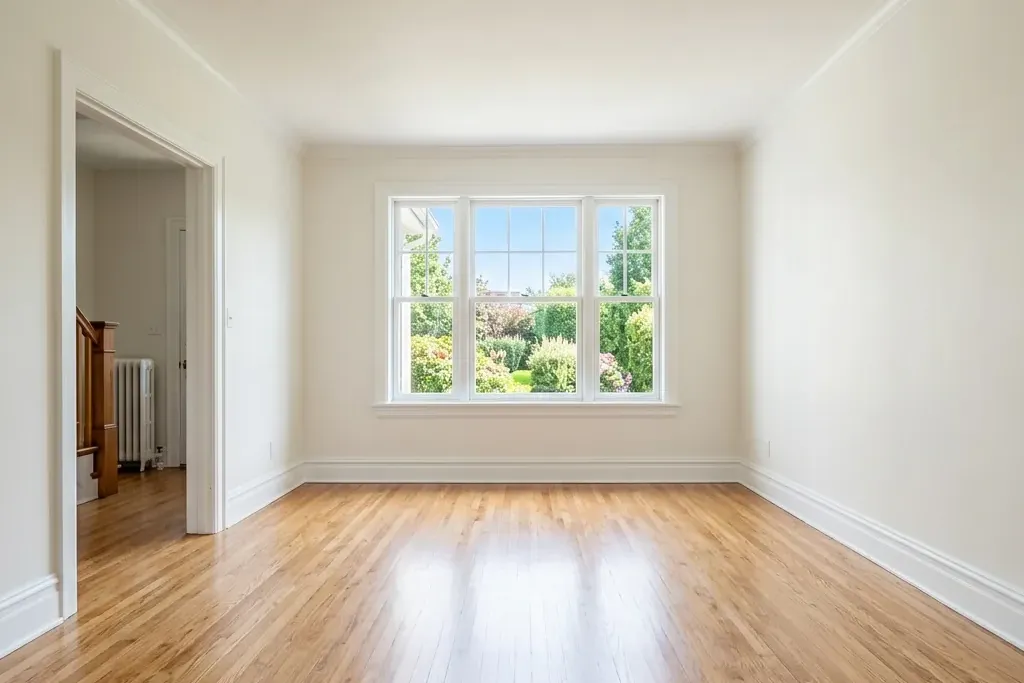
You wipe the counter, mop the floor and return later to find another pale film. After drywall sanding, cleaning only the obvious surfaces can leave dust on door frames, inside cabinets and along window tracks, ready to spread again.
To remove drywall dust after a renovation, stop the dust-producing work, contain the affected area, collect loose dust with suitable fine-dust equipment, then wipe compatible surfaces and clean the floors last. Check upper ledges and hidden edges before repeating the same floor clean.
The method also depends on what you are cleaning. Bare drywall awaiting primer, a freshly painted wall and a finished hardwood floor need different treatment.
Before cleaning: confirm what the dust contains
Drywall sanding dust is not necessarily pure gypsum. Joint compounds contain different ingredients, and NIOSH notes that sanding can produce high dust exposure and, in some cases, exposure to respirable silica. Review the product’s safety data sheet and the work completed before choosing equipment and protection. Source: NIOSH
This guide covers ordinary post-renovation finishing cleanup after material hazards have been assessed. If older materials were disturbed and asbestos is suspected, stop disturbing the area and obtain professional advice. Health Canada recommends professional testing where asbestos is suspected and advises against attempting its removal yourself. Source: Health Canada
Keep children, pets and other occupants outside the cleanup area. Use eye protection and respiratory protection appropriate to the assessed dust and exposure; a loose face covering should not be treated as a substitute for a properly selected and fitted respirator.
What you need to clean drywall dust
Prepare the supplies before starting so you can move through the area without repeatedly crossing clean rooms.
- A vacuum or dust extractor whose manufacturer permits the assessed fine dust, with suitable HEPA filtration where required.
- The correct collection bags, filters and replacement supplies for that machine.
- A soft, clean brush attachment and crevice tool.
- Several clean microfiber cloths and compatible mop pads.
- Clean water and surface-approved cleaner where needed.
- Suitable bags or containers for the assessed waste.
- A light for checking ledges, tracks and floor edges.
- Personal protective equipment selected for the task.
A wet/dry vacuum is not automatically ready for drywall dust. Check the exact machine, bag and filter combination. For example, RIDGID specifies particular compatible filters and bags for fine-particle collection; that guidance cannot be transferred to every shop vacuum. Source: RIDGID
Step 1: finish dusty work and limit its spread
Confirm that sanding, drilling and other dust-producing work has finished before the final clean. If the contractor still needs to sand a repaired joint, complete that work first or plan a later touch-up.
Keep the affected area separated from occupied rooms. Avoid carrying dusty tools, shoes and uncovered waste through clean spaces. Lift protective coverings carefully, folding dirty surfaces inward instead of shaking them out.
Coordinate ventilation and HVAC arrangements with the contractor or building manager. In a Toronto condo, do not alter shared ventilation or cover building systems without approval. Airflow should not carry dust into adjoining suites, corridors or clean rooms.
Step 2: collect loose debris without stirring up dust
Remove larger loose offcuts and packaging under the site’s waste plan. Keep sharp screws and other objects away from vacuum attachments unless the equipment is intended to collect them.
Avoid vigorous dry sweeping, feather dusting or blowing dust off surfaces. These actions can put settled material back into the air. Use collection methods suited to the assessed dust; silica-containing dust requires its own control procedure.
Do not start by soaking a dust-covered floor. A large amount of loose powder can become a cloudy slurry that spreads into joints and edges. Collect the loose material first, then use the cleaning method approved for the floor.
Step 3: vacuum accessible surfaces from high to low
Start with reachable upper areas so material disturbed during detailing does not land on a floor you have already finished.
Work through:
- Upper ledges and the tops of door frames.
- Shelves and accessible cabinet tops.
- Window sills, tracks and frames.
- Cabinet interiors, drawers and closet shelving.
- Baseboards, floor edges and accessible corners.
Use gentle passes and attachments suited to the surface. Do not drag a gritty nozzle across paint, cabinetry or glass. Avoid pressing a vacuum head against bare drywall paper or soft joint compound.
Check airflow as you work. If suction falls, stop and follow the manufacturer’s bag and filter instructions. Continuing with a restricted or incorrectly assembled machine can undermine collection.
Step 4: wipe compatible surfaces with clean cloths
After loose dust has been collected, wipe suitable finished surfaces with a lightly dampened microfiber cloth. Apply only the moisture and product permitted by the finish manufacturer.
Fold the cloth to expose a clean face, then change it when soiled. Rinse or replace cloths rather than carrying the same dusty water from a shelf to a countertop.
Pay attention to cabinet corners, door edges and the ledges behind handles. Avoid saturating unfinished timber, cabinet seams, electrical fittings or recently applied finishes.
Drywall dust usually calls for effective collection and careful wiping. Bleach, disinfectant and strong fragrance do not replace dust removal.
Step 5: treat walls according to their finish
Bare drywall before primer or paint
Coordinate this stage with the drywall finisher or painter. The surface must be prepared without damaging the paper or changing the finished joints.
USG’s installation and finishing guide instructs users to carefully remove sanding dust with a damp sponge. Follow the instructions for the actual board, compound and coating system, using controlled moisture rather than washing the wall. Source: USG
Do not scrub joint lines or keep wetting an area until the compound softens. Let the prepared surface dry as required before the painter applies the specified primer.
Painted walls
Check the paint supplier’s curing and cleaning instructions first. Paint that feels dry may still have restrictions on washing.
For an approved washable finish, remove loose dust gently and test the permitted cleaning method in an inconspicuous area. Stop if colour transfers, the sheen changes or the surface becomes damaged.
Step 6: clean floors using the right method
Finish the floors after the upper surfaces and interiors. The aim is to remove remaining residue without adding damage or excess moisture.
| Surface | Cleaning approach | Main precaution |
|---|---|---|
| Hardwood or engineered wood | Collect loose dust, then use the finish-approved cleaning method | Avoid wet and steam mops |
| Laminate | Vacuum with a suitable attachment, then clean under the manufacturer’s instructions | Keep moisture out of joints and edges |
| Vinyl flooring | Remove grit, then use an approved damp-cleaning method | Check restrictions for new flooring and adhesives |
| Ceramic or porcelain tile | Collect loose dust, then clean with a compatible product and fresh water | Confirm grout and installation curing requirements |
| Carpet or upholstery | Use equipment and attachments approved for the material and dust | Do not beat, shake or aggressively brush dust into the air |
The National Wood Flooring Association advises against wet and steam mops on wood floors and recommends a cleaner made for the floor’s finish. Source: NWFA
If a pale film remains, inspect it before increasing chemical strength. It may be residual dust, cleaner residue, grout haze or a finish problem. A separate commercial floor cleaning assessment can help define work beyond routine surface cleaning.
Step 7: handle vacuum waste and inspect the result
Follow the equipment instructions when closing, removing and replacing collection bags. Avoid pouring loose dust between containers or tapping filters against a bin inside the cleaned room.
A NIOSH drywall-sanding evaluation identified dust exposure concerns from dumping vacuum contents and tapping filters to dislodge dust. Correct maintenance and waste handling are part of dust control. Source: NIOSH evaluation
Check the room under normal lighting and use an angled light to inspect edges. On suitable finished surfaces, a clean cloth can help identify remaining visible residue. This is a housekeeping check; it does not measure airborne exposure or provide clearance for hazardous materials.
Recheck after the initial clean and address any resettled dust. If powder keeps returning, investigate the source instead of scheduling the same wipe-down repeatedly.
Why does drywall dust keep coming back?
Recurring dust can point to an unfinished task or a source outside the area you cleaned. Check these possibilities:
- Dusty work is continuing. A small sanding repair can contaminate a recently cleaned room.
- Upper surfaces were missed. Door tops, cabinet tops and shelving can retain material.
- Cloths or pads are dirty. Reused tools can leave a thin film behind.
- The vacuum needs attention. Check assembly, bag condition, filters and seals under the manufacturer’s instructions.
- Dust is being tracked in. Tools, footwear and coverings may carry it from another area.
- HVAC contamination needs assessment. Dust near a register deserves investigation, rather than an automatic assumption about its source.
Ask the HVAC provider to check filters and system condition if renovation dust may have entered the equipment. Do not fit a higher-resistance filter without confirming compatibility.
The EPA recommends duct cleaning as needed rather than routinely. Excessive debris or particles being released from supply registers are reasons to seek an assessment. Wiping accessible vent covers is different from cleaning inside ductwork. Source: EPA
Drywall dust cleanup checklist
Use this during your walkthrough or share it with the cleaning provider:
- Dust-producing trades have finished, or a later touch-up is planned.
- The materials and any known hazards have been assessed.
- Vacuum equipment, bags and filters suit the task.
- Accessible upper ledges and door-frame tops have been checked.
- Cabinet interiors, drawers, closets and window tracks are included where affected.
- Bare drywall and painted walls have been treated under the relevant product instructions.
- Floors have been cleaned using a method approved for their material and finish.
- Vacuum waste and dusty coverings have been removed without spreading loose dust.
- Visible remaining residue, damage and unfinished work have been recorded.
- Suspected HVAC contamination or specialist work has been referred for assessment.
When should you book professional post-renovation cleaning?
A small, assessed patch-repair cleanup may be manageable with suitable equipment. Larger renovations become harder when dust reaches several rooms, fitted cabinetry, high ledges or different floor finishes.
Consider professional help when you need a defined scope before moving furniture back, handing over a rental unit or reopening a workplace. In Toronto condos, share elevator bookings, loading arrangements and permitted work hours before the visit.
Profound Cleaning’s post-construction and renovation cleaning in Toronto can include accessible surface detailing, cabinet interiors, interior glass and floor cleaning under an agreed scope. Internal duct cleaning and hazardous-material abatement require separate specialists.
Frequently asked questions
What is the best way to remove drywall dust after a renovation?
Finish dusty work, limit spread, collect loose dust with suitable equipment and work from higher surfaces downward. Then wipe compatible surfaces and clean the floors. Choose each method for the material, finish and assessed dust.
Can I use my regular vacuum for drywall dust?
Only if the manufacturer permits that dust with the machine’s installed filtration and collection system. Do not assume a household vacuum or an unmodified wet/dry vacuum is suitable.
Can I mop drywall dust with water?
On a compatible floor, damp cleaning may follow loose-dust collection. Avoid saturating the surface or spreading a large amount of powder into slurry. Wood, laminate and newly installed flooring need particular attention to care instructions.
How long does drywall dust take to settle?
There is no single waiting period that guarantees a clean room or safe air. Particle size, airflow and ongoing work affect what remains airborne and what resettles. Waiting overnight does not replace collection and cleaning.
Should drywall be wiped down before painting?
Sanding dust should be removed using the preparation method approved for the drywall, compound and coating system. Coordinate with the painter and avoid soaking or scrubbing finished joints.
Do I need duct cleaning after drywall sanding?
Not automatically. Ask for an assessment if excessive debris is present, particles are being released from registers or the HVAC provider identifies contamination. Duct cleaning is separate from ordinary room cleanup.
Get the renovation ready for its next use
A finished room needs more than a clean-looking floor. The ledges, cabinet interiors, tracks and edges should be addressed before you move furniture and belongings back into place.
Profound Cleaning provides a written scope before work and a completion log after each booked post-construction cleaning phase. Send photographs, the affected rooms and your handover date through the quote request page, or call +1 (647) 567-9992 to discuss your Toronto or GTA project.
Need this handled at your building?
Written scope before work, completion log after every visit, same crew every time. WSIB certified and $5M insured across Toronto and the GTA.
Keep Reading
Post-Construction Cleaning Equipment: What Each Tool Does
Learn what post-construction cleaning equipment does, which tools suit dust, glass and floors, and what to ask before booking a Toronto cleaning…

Professional House Cleaning Checklist: Room by Room
A professional house cleaning checklist, room by room: kitchens, bathrooms, bedrooms and living areas, with routine tasks, extras and final checks.
Post-Construction Cleaning: The Three Phases and What Each One Covers
Post-construction cleaning goes wrong in a predictable way. The trades finish, someone books a single clean for the day before handover, and…